Age Group:
Total time:
Supplies
Elmer’s white glue
Good coloring
Borax powder
Cornstarch
Warm water
Directions
Gather Elmer’s white glue, food coloring, Borax powder, cornstarch, and some warm water.
For each ball, combine 4 tablespoons of warm water, 3 tablespoons of cornstarch, and ½ a teaspoon of borax powder into one bowl.
In another bowl, pour out 1 tablespoon of Elmer’s white glue and add several drops of your food coloring.
Mix together your water, cornstarch, and borax and then pour it into your now colored glue!
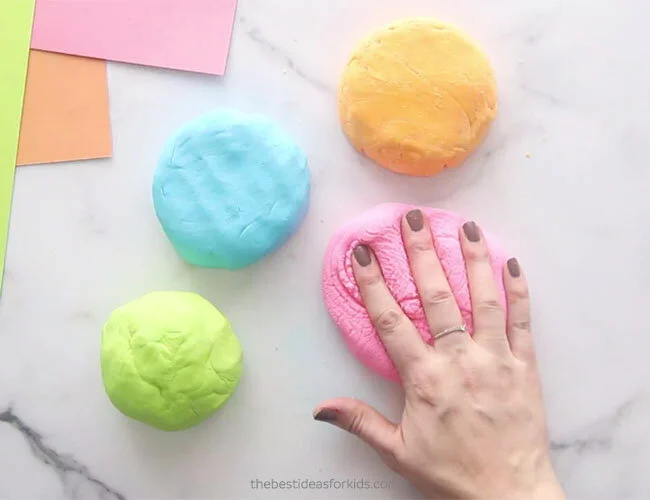
Stir it all together until it is almost entirely solidified. Once you’re satisfied with the texture roll it between your palms to form your bouncy ball!
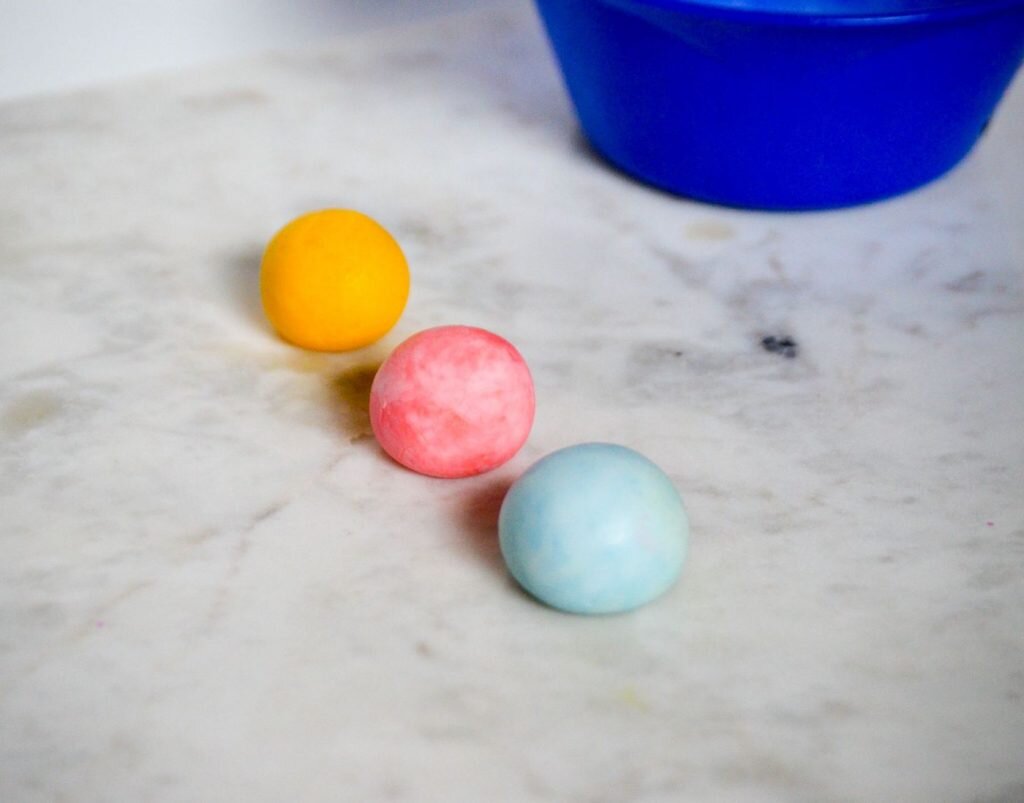
Image source StemEducationGuide.com