Age Group: K-3rd grade
Total time: 20 minutes
Supplies
Computer Paper | 1 piece/Turkey
Washable Markers | 1 pack
Googly Eyes (Optional) | 2/Turkey
Feathers (Optional) | 8-10/Turkey
Directions
Take a marker and trace your hand on the paper.
Color in each finger.
Draw on eyes and a beak.
(Optional) Add colored feathers and googly eyes, instead of drawing them on.
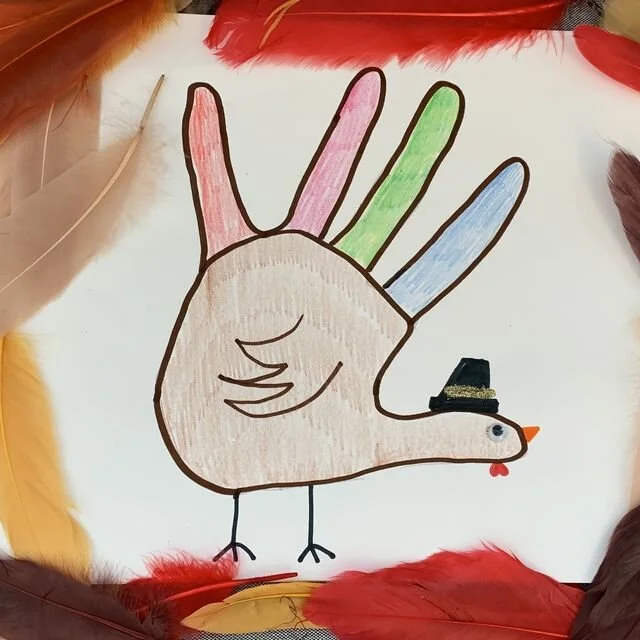
Image source GoodHousekeeping.com